Lasting Durability: Fired at high temperatures, the clay body and color glaze fuse into a solid, homogeneous unit. This ensures optimal hardness and superior load-bearing capacity, with a guarantee against fading over time.
Self-Cleaning Mechanism: The combination of a high-wave profile and a smooth ceramic glazed surface allows rain to easily wash away dust. This keeps the roof shiny and effectively prevents moss and mold growth.
Double Waterproofing Protection: Scientifically designed with double interlocking ridges, high anti-backflow ridges, and deep drainage channels, this system optimizes water flow. It effectively prevents water backflow, even during heavy storms.
Modern Aesthetics: The rich color palette is developed based on international architectural trends while remaining suitable for tropical climates, catering to diverse design styles from classic to modern.
Economic Efficiency: With a batten spacing of 340 – 360 mm, superior to traditional tiles, this product helps homeowners significantly save on construction time and roof framing material costs.
1. Technical Specifications for Tiles & Accessories
Product Type
Dimensions (mm)
Weight (kg/pc)
Packaging (Pcs/box)
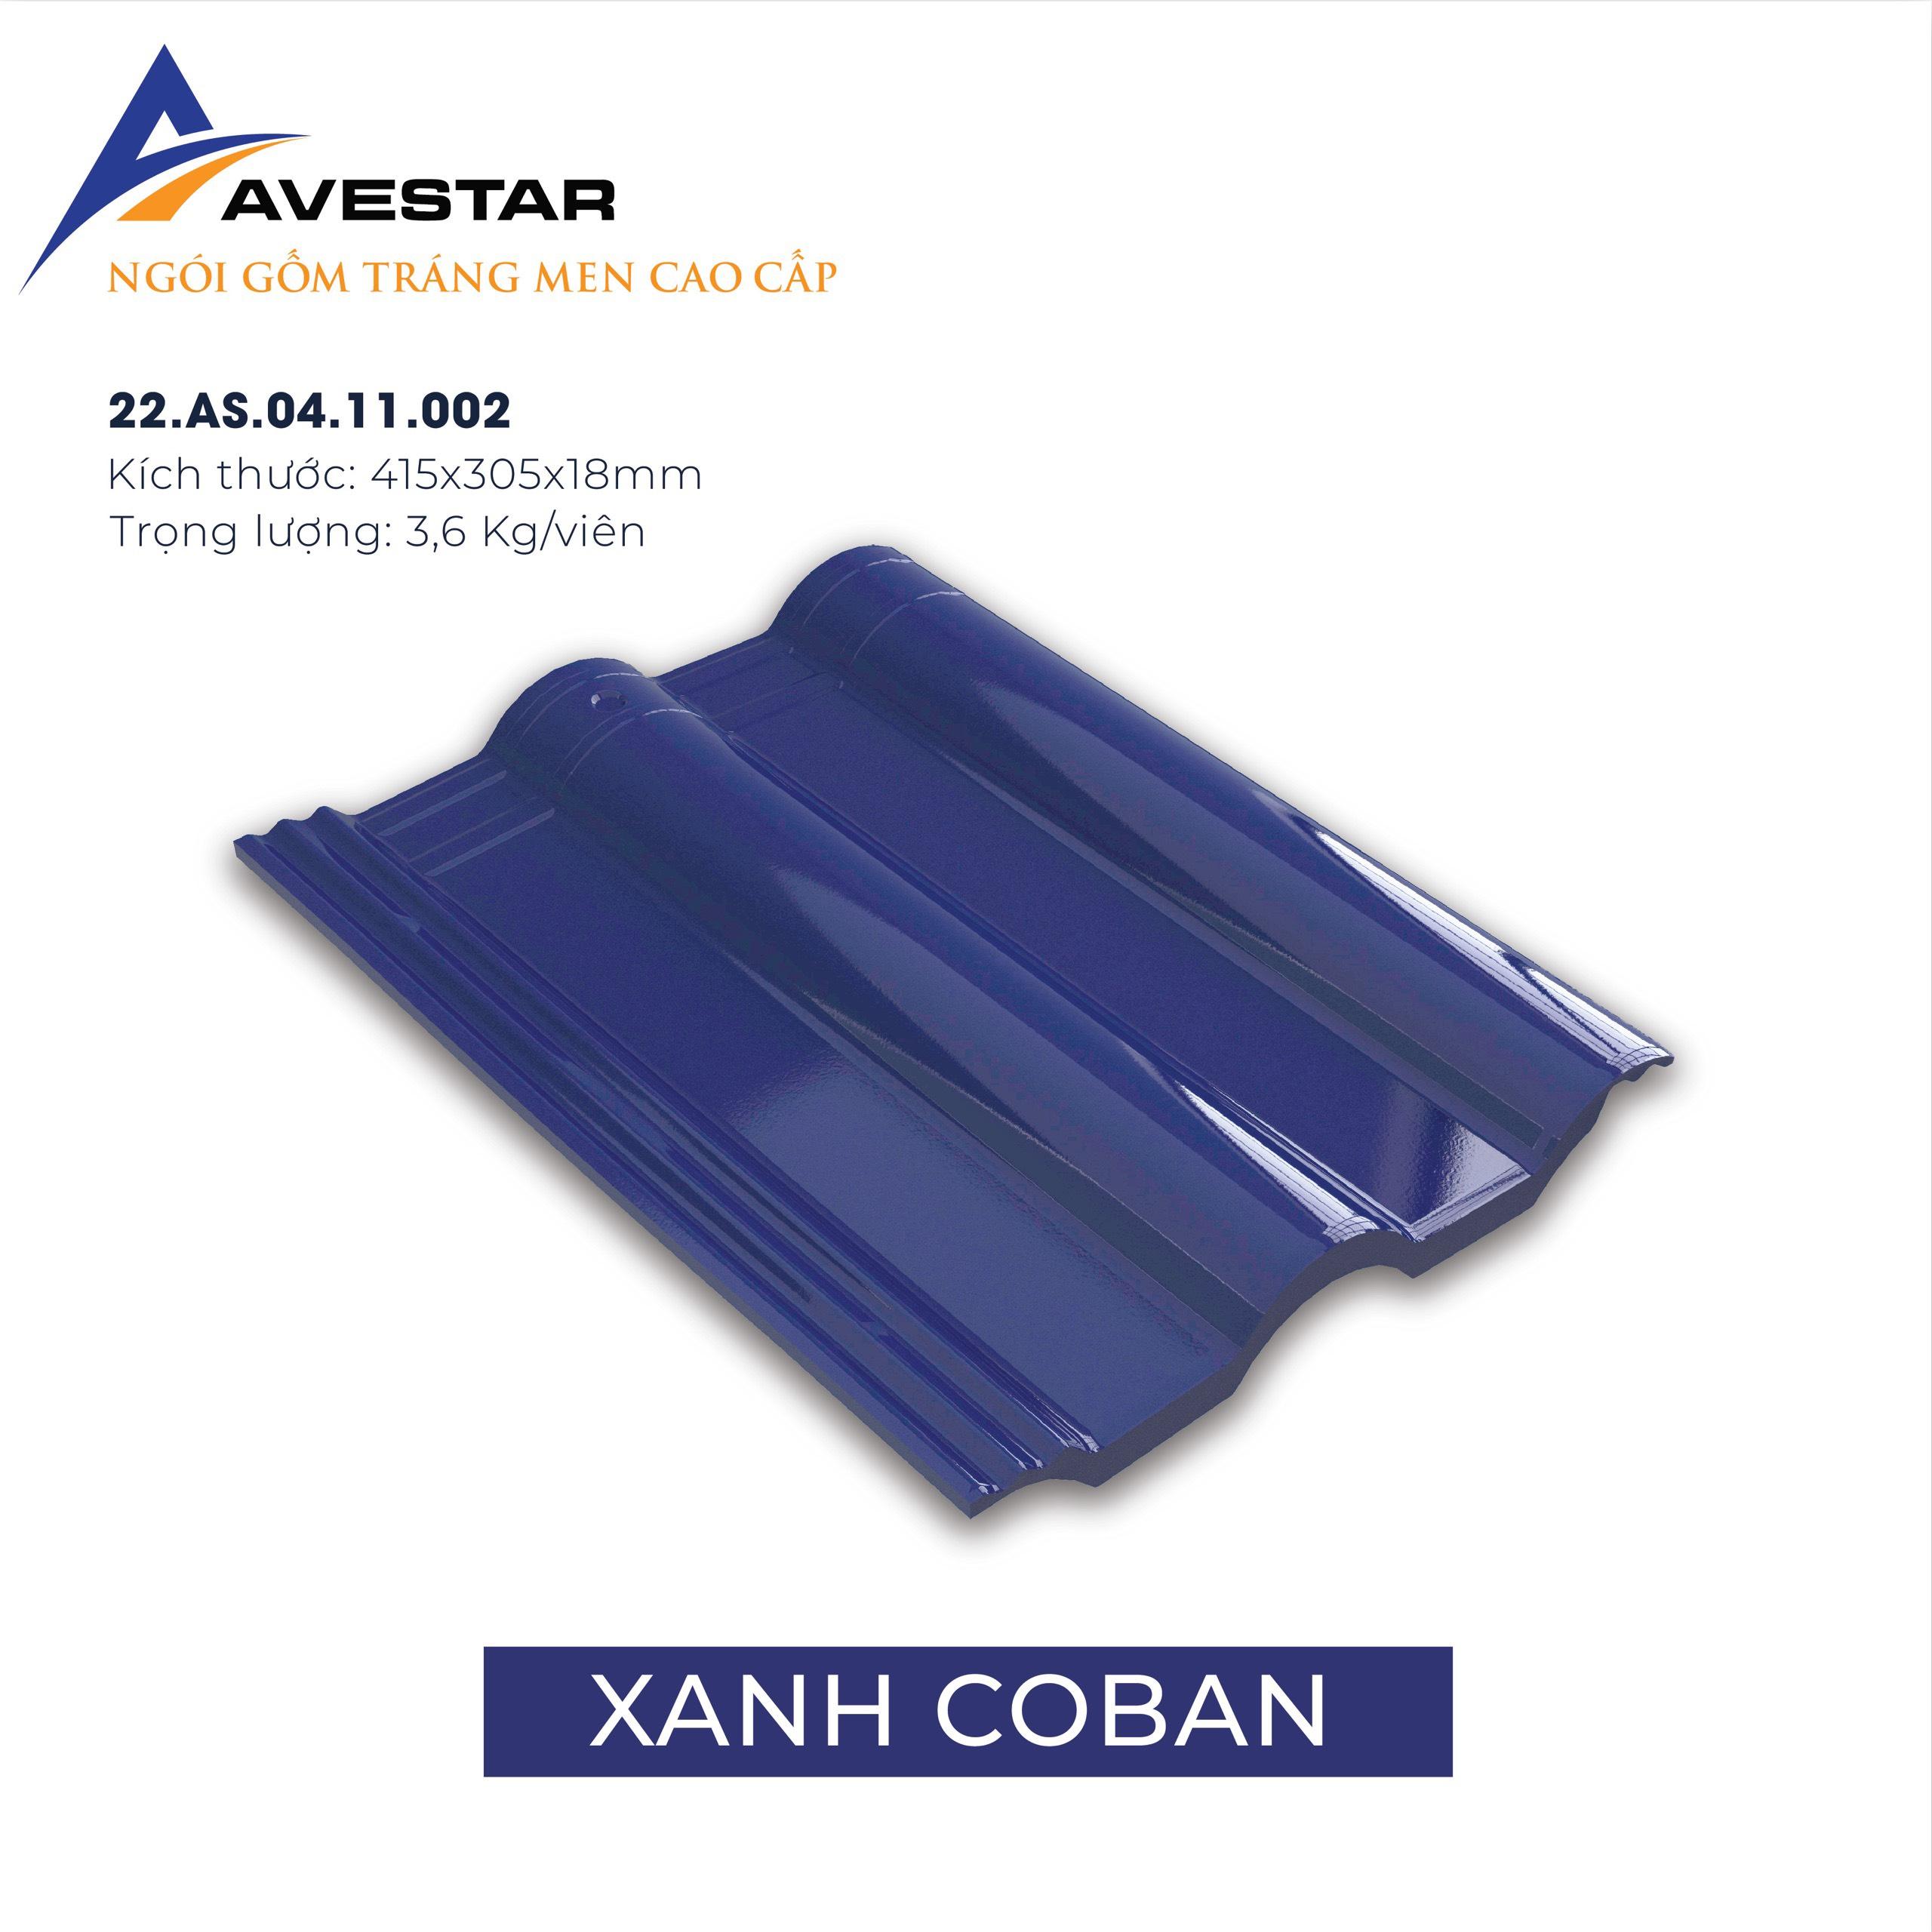
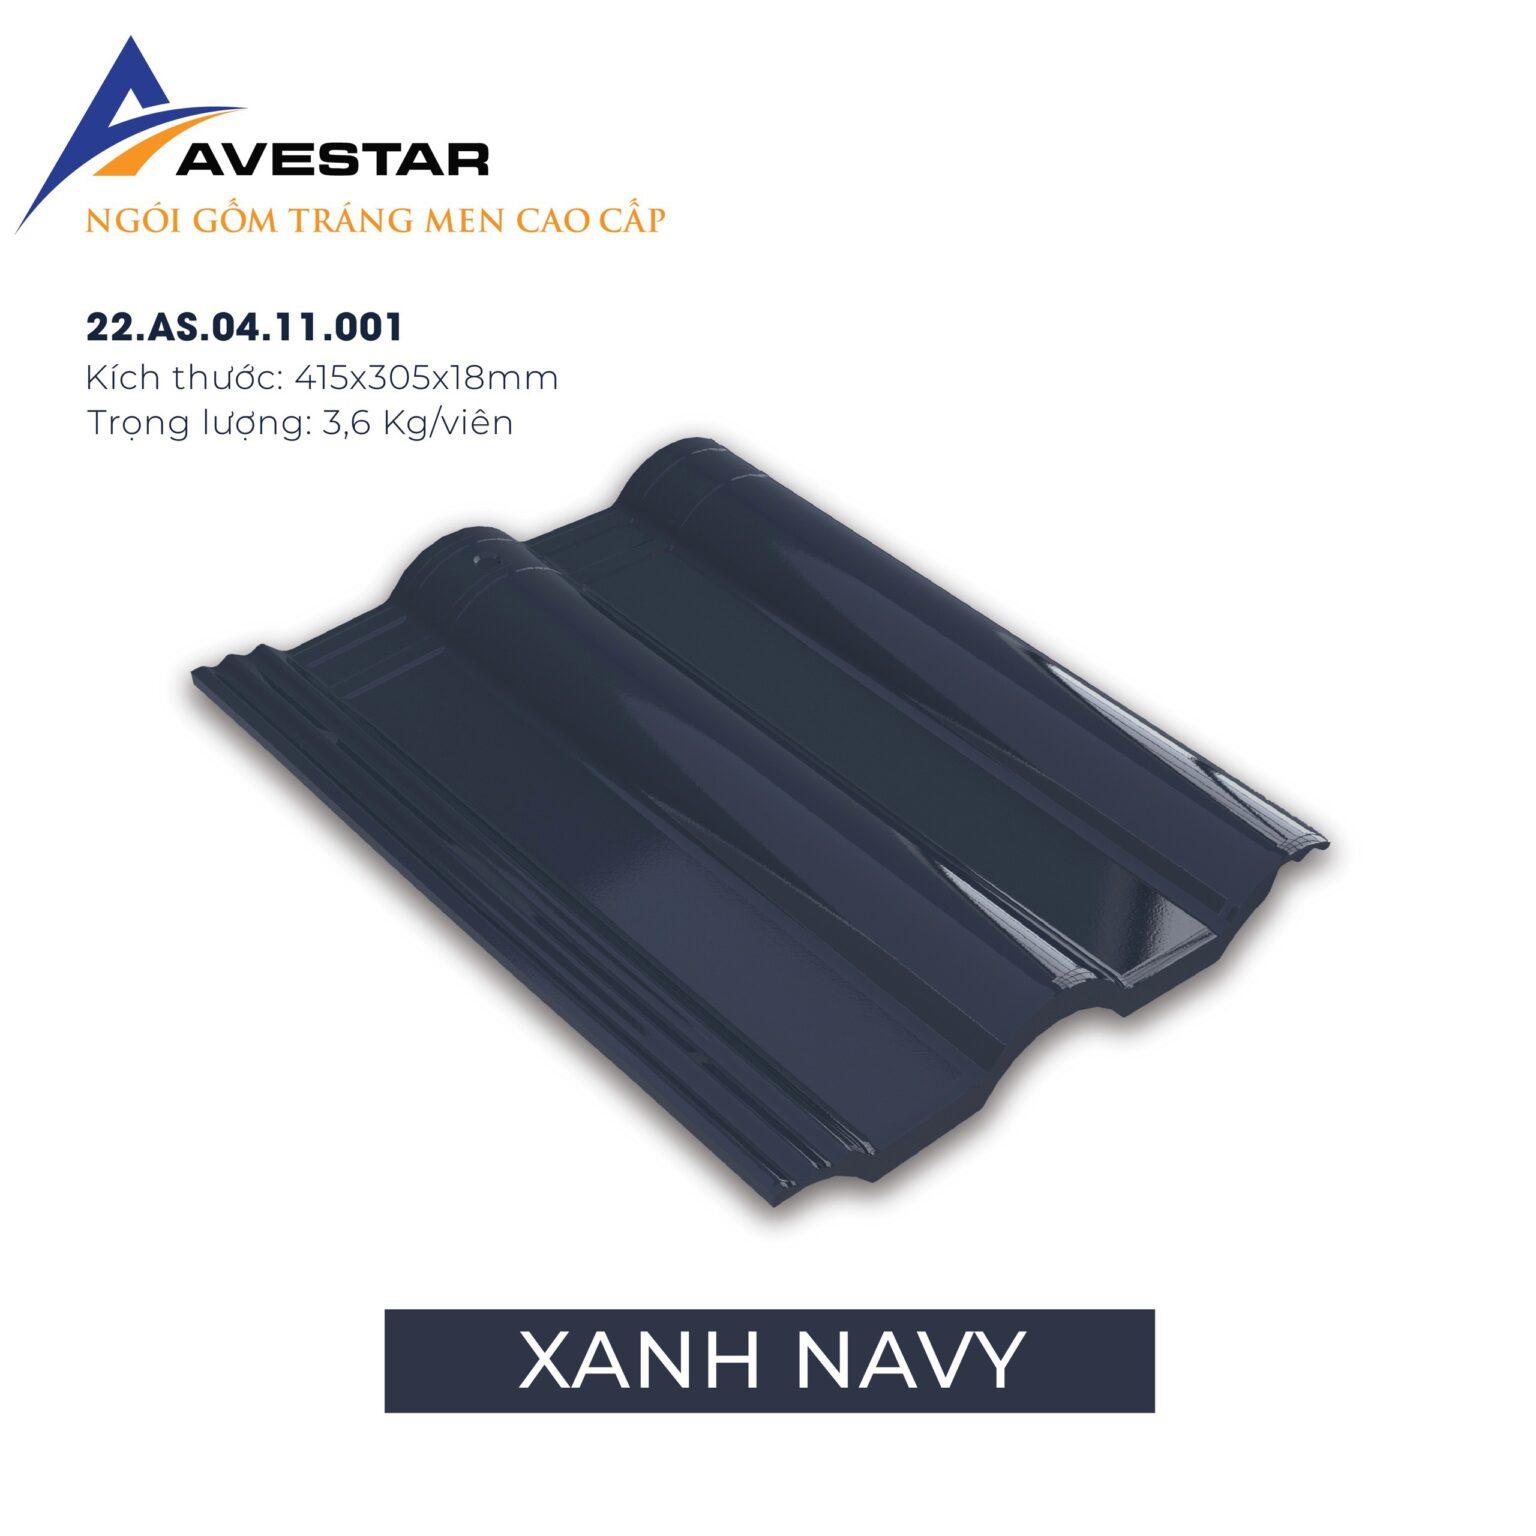
Main Roof Tile
415 x 305
~3.60
10
Ridge Tile
250 x 300
~2.00
14
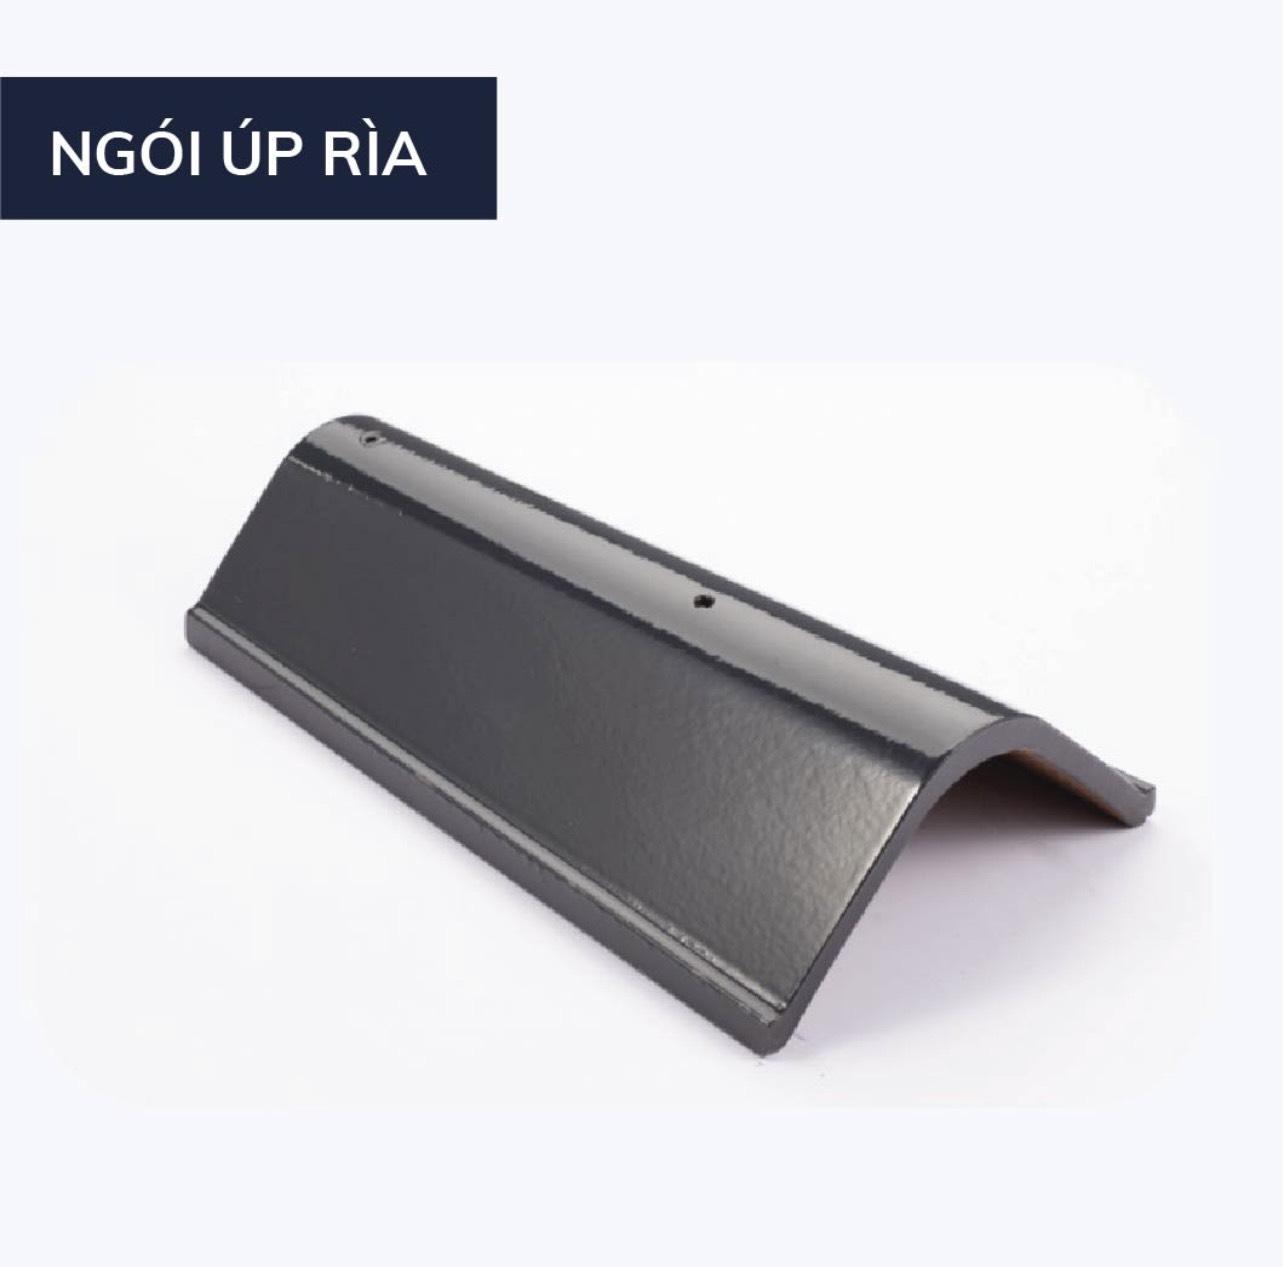
Edge Tile / Verge Tile
145/190 x 320
~1.50
16
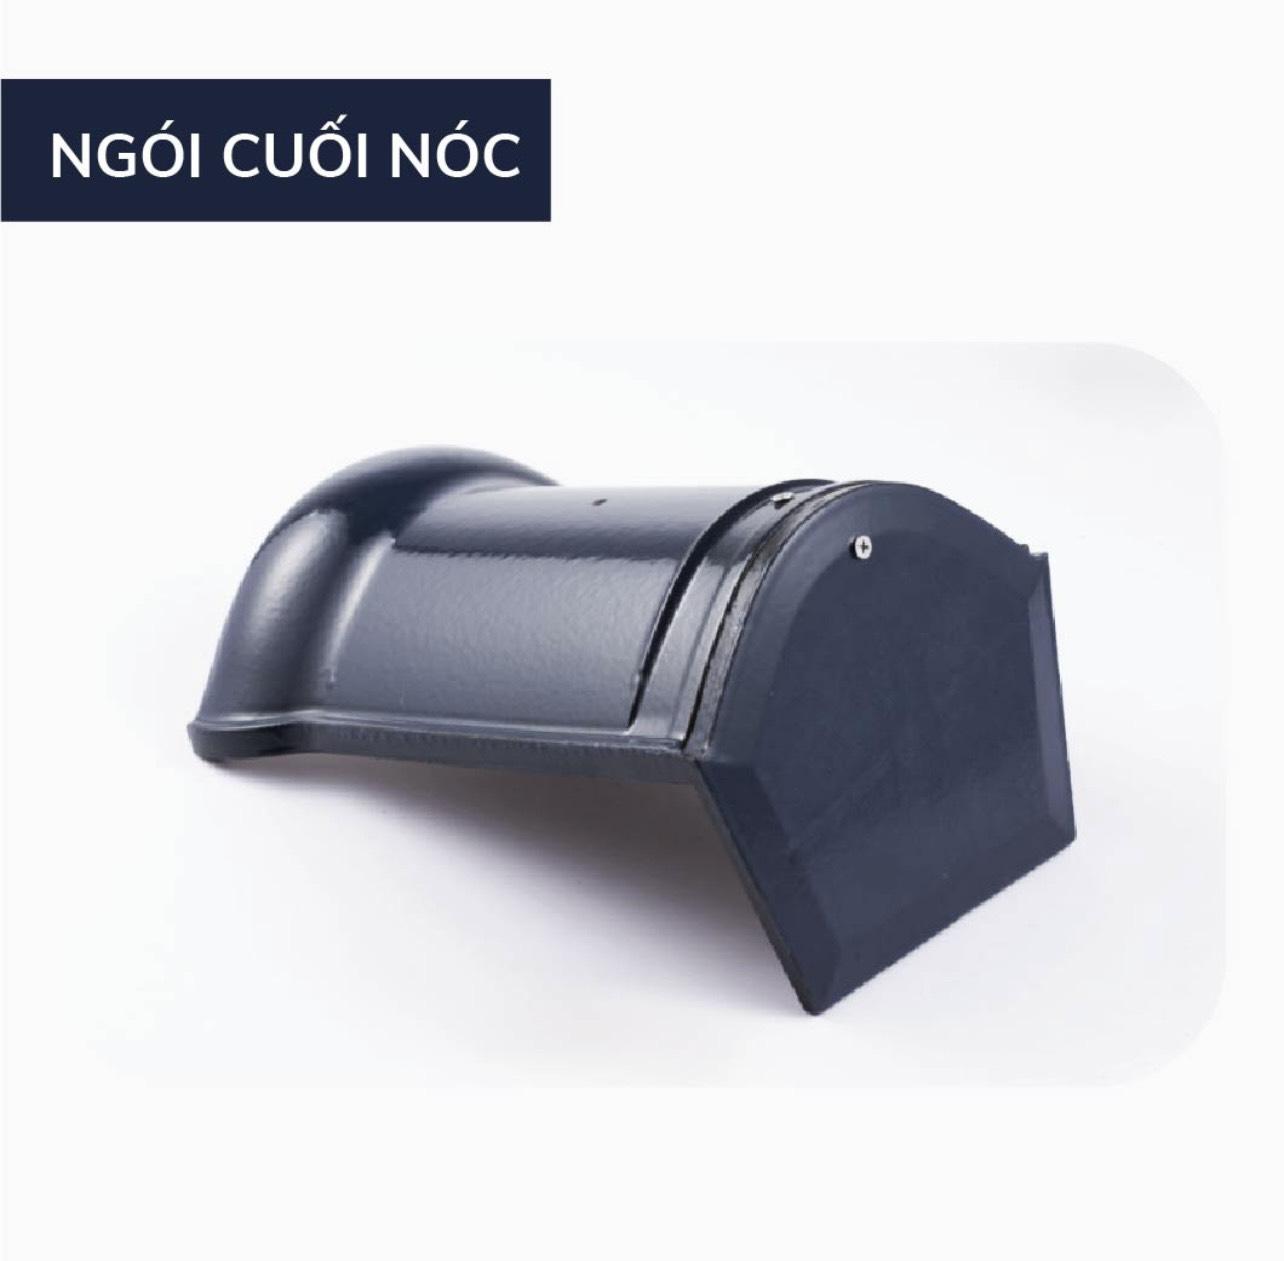
Ridge End Tile
300 x 200/325
~2.75
04
Edge End Tile
145/190 x 320
~1.50
04
3-Way Ridge Tile
400 x 400
~3.40
04
T-Junction Tile
310 x 365
~3.00
04
Eaves Tile
205 x 77
~2.10
04
(Note: The standard batten spacing for main roof tiles is 340 – 360 mm)
2. STANDARD BATTEN SPACING PROCEDURE
To ensure a flat roof and efficient drainage, technicians must follow these 3 steps to determine the batten spacing (lath distance):
Step 1: Determine the first batten row (f) Measure from the rafter apex to the center of the first batten row. Distance (f) depends on the roof pitch:
Roof pitch 35° – 45°: f = 30 mm.
Roof pitch > 45°: f = 20 mm.
Step 2: Determine Main Batten Spacing (L1) The standard spacing between battens for Avestar tiles is: L1 = 340 – 360 mm.
Step 3: Handle the final batten row (L2) Divide the remaining distance evenly from the top. Any excess length should be accumulated in the last row. Important Note: The final batten row must be raised 20mm higher than the other rows to create a proper drainage slope.
3. MANDATORY INSTALLATION GUIDELINES
Materials: Must use tiles from the same production batch and same color code on a single roof.
Structure: Minimum rafter size of 40x80mm (spacing 800-1200mm); Batten width of 25-40mm.
Strictly Prohibited: Do not mortar tiles directly onto a concrete roof or use wooden/concrete battens (prone to cracking due to thermal expansion/contraction).
Tiling Technique: Install in a straight bond (aligned), not staggered. Proceed from left to right and bottom to top.
Fastening: Use 60-70mm screws. Screw moderately tight for 100% of main tiles (including cut tiles).
At the Verge: Minimize tile cutting. Ensure the edge of the verge tiles and main tiles are aligned in a straight line.
4. 5 KEY ADVANTAGES OF AVESTAR TILES
Timeless Durability: Clay body and glaze are fused into a monolithic block, offering high load-bearing capacity and guaranteed color fastness.
Self-Cleaning: Glossy glaze surface combined with a high-wave design helps wash away dust and prevents moss growth.
Dual Waterproofing: Water-blocking ridges and deep drainage grooves absolutely prevent water backflow.
Aesthetics: Diverse color palette following international architectural trends.
Cost Efficiency: Large batten spacing (340-360mm) significantly reduces material and labor costs for the roof frame.